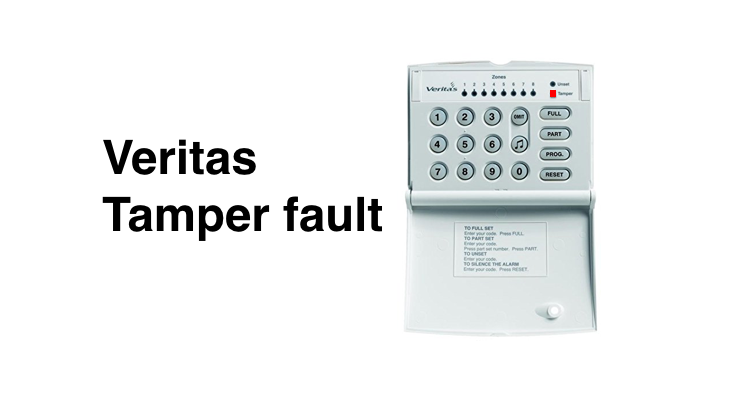
How to fix Veritas alarm tamper problem Every piece of equipment on your alarm system (e.g. all sensors, keypads, sirens, alarm panel) has an internal
How to fix Veritas alarm tamper problem
Every piece of equipment on your alarm system (e.g. all sensors, keypads, sirens, alarm panel) has an internal 24/7 tamper circuit. If a sensor cover is loosened, removed or broken or if wiring is damaged, the system will report a tamper condition on the keypad even if your alarm is not set (i.e. if you have a Veritas 8 or R8 a tamper light in red).
The idea of a tamper circuit is to ensure that there’s no way for your system to be compromised / tampered with, preventing it working in an emergency situation. There are a myriad of ways your alarm may go into tamper; for example if your carpenter laying a new carpet accidentally cuts an alarm wire, or a decorator painting around detectors accidentally damages it, or if a cheeky mouse takes a bite out of your alarm wire.
Old detectors may also cause tamper problems. Most old detectors are fitted with micro switches, or metal springs. As plastic covers age,or metal springs lose their strength, this will cause tamper problem.
In the case of a tamper fault, the first thing to do is to check all sensors have their cases properly secured and check if you can see any alarm cables have been compromised / nicked.
Need help?
If you need help, and don’t feel confident of fixing the problem yourself, you can get support from our team – either via the telephone or via an onsite visit. Book these appointments here . . .
OR
Veritas tamper light. How do I find out what caused it?
The Veritas alarm has 5 possible types of tamper faults. To find out which one you have, set-up WALK TEST mode.
To set up in WALK TEST, you need to enter your four digit user code + [PROG] + [0] [6] . The system is now in walk test mode.
If the Tamper light is on and the panel beeps 9 times, you can use the ‘extended display’ to reveal more information about a source of tamper fault(s). To toggle between the normal display and extended display press [OMIT]. The extended display is distinguished from normal display by the UNSET light being off.
When you’re in ‘extended display’ the zone numbers translate as follows:
- No. 1: Bell tamper, including Global system tamper
- No. 3: Panel lid tamper
- No. 4: line monitor
- No. 5: remote keypad is off-line
- No. 8: end of line zones tamper
To end the WALK TEST press [RESET] twice.
How to set alarm when there’s a tamper fault
It is still possible to set your Veritas alarm when there’s a tamper light showing. All you need to do is to omit the fault as follows:
ENTER [USER CODE] + [OMIT] + [9] + [PROG]
How to fix tamper fault on your alarm
If you can’t see anything obvious causing the tamper problem, the best way to solve the problem is to organise an engineer to service your alarm. If you don’t want to spend so much money you could opt for our telephone support service, where you pay for 20 mins remote technical support to fix your problem. CLICK HERE TO BOOK YOUR SUPPORT CALL >>
Unfortunately, a lot of tamper faults can’t be fixed via the telephone, so the other option is to book an site visit by one of our engineers to fix the problem live in your property. Book here . . .


COMMENTS